In this tutorial, I will show a step by step guide on compiling Mitsuba2 on Windows.
Mitsuba2 is a physically-based rendering engine. It is written in C++17 and the continuation of the old Mitsuba renderer.
Homepage: https://www.mitsuba-renderer.org/
Requirements
- Git: Not really required but makes it more comfortable.
- CMake: Used to build Mitsuba2.
- Visual Studio: Used to compile Mitsuba2. It is recommended to use the newest version (Visual Studio 2019).
Download links:
Step by step guide
Mitsuba2 uses some external dependencies. If the repository is downloaded, for example, as a zip file, those dependencies are missing and must be downloaded separately. So it is recommended to clone the repository with the git command.
git clone --recursive https://github.com/mitsuba-renderer/mitsuba2Make sure to use the –recursive parameter.
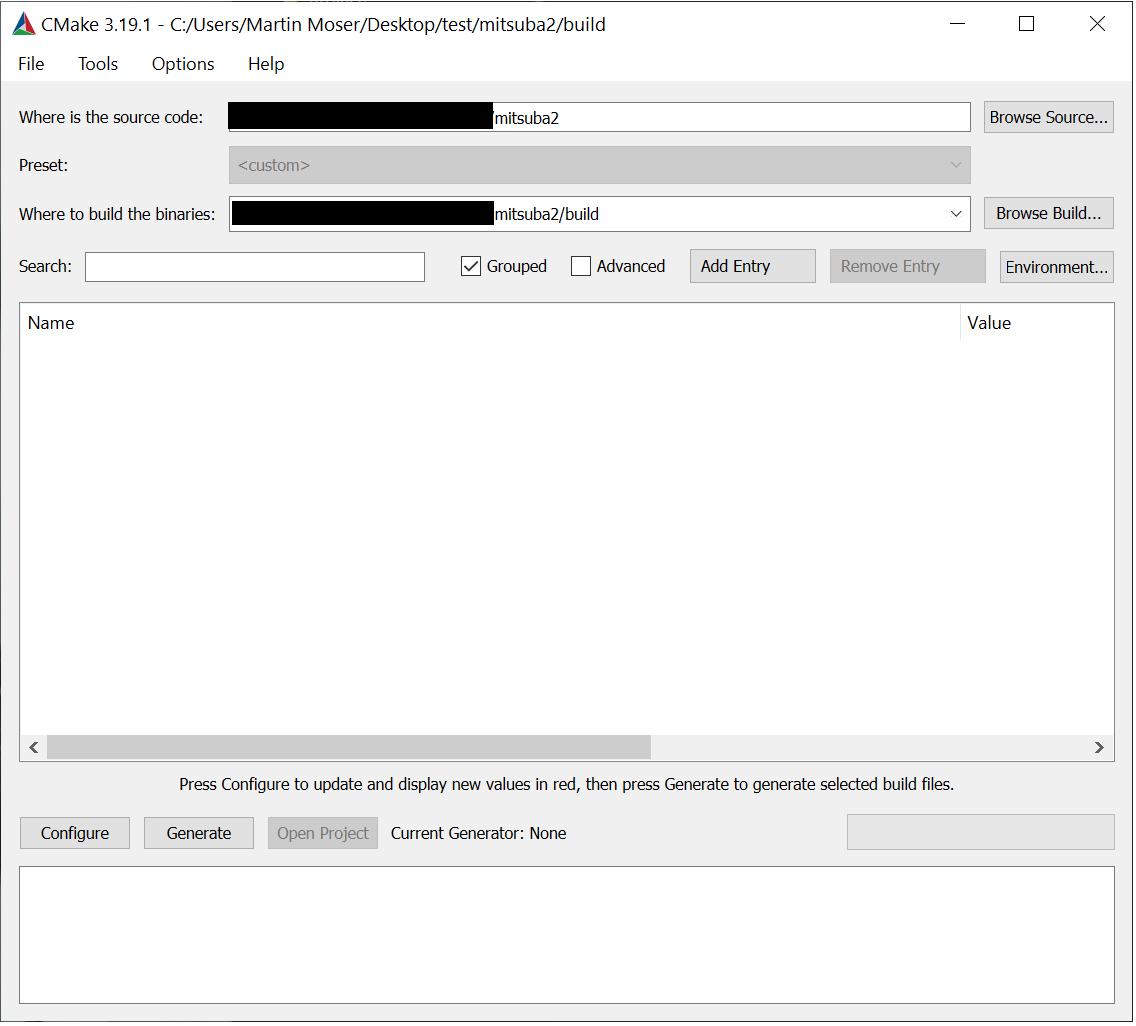
Next, open CMake and configure the source and build directory. Usually the build is placed in a directory called “build”. See the image below for an example.

Click on “Configure”. If the provided build directory does not exist, CMake will ask if it should create it for you. In the configuration window, select the newest version of Visual Studio and click on “Finish”. Check the paths and click “Configure” once again. After finishing generate the project with “Generate”.
The build directory now contains a Visual Studio solution called “mitsuba.sln”. Open it by double clicking it.
Make sure to select the right platform (x64) at the top. Select “Build” and “Build Solution” (or Ctrl + Shift + B) to start the build process. Depending on the machine this could take a few minutes or up to an hour.

After finishing the build test if everything works correctly. Open a console window in the mitsuba2 root directory. Run the following commands:
    setpath
    mitsuba resources/data/scenes/hello.xml
The rendering should run without any errors. If everything works without errors, mitsuba2 is configured and ready.


